First off, my son is hoarder. Oh YEAH he is. He will keep anything and everything, such as cardboard boxes that came with our online orders. He’s always stealing my copy paper. He keeps toilet paper rolls, plastic bottles and so on. Maybe I can keep this for a project”, he says. “It’s going to be amazing”, he says. Hmm…I CAN appreciate his creativity and I rationalize that they DO have trash for kids to play with at the science centers we’ve gone to. Maybe he’ll be an engineer one day or invent something with recycled materials for something amazing in a big way if I let him play with this trash, I tell myself. After a while I do have to reign it in and he has to recycle or trash some of it. By the way, somehow he eventually recruits me or his dad in his endeavors as well. Hmm…
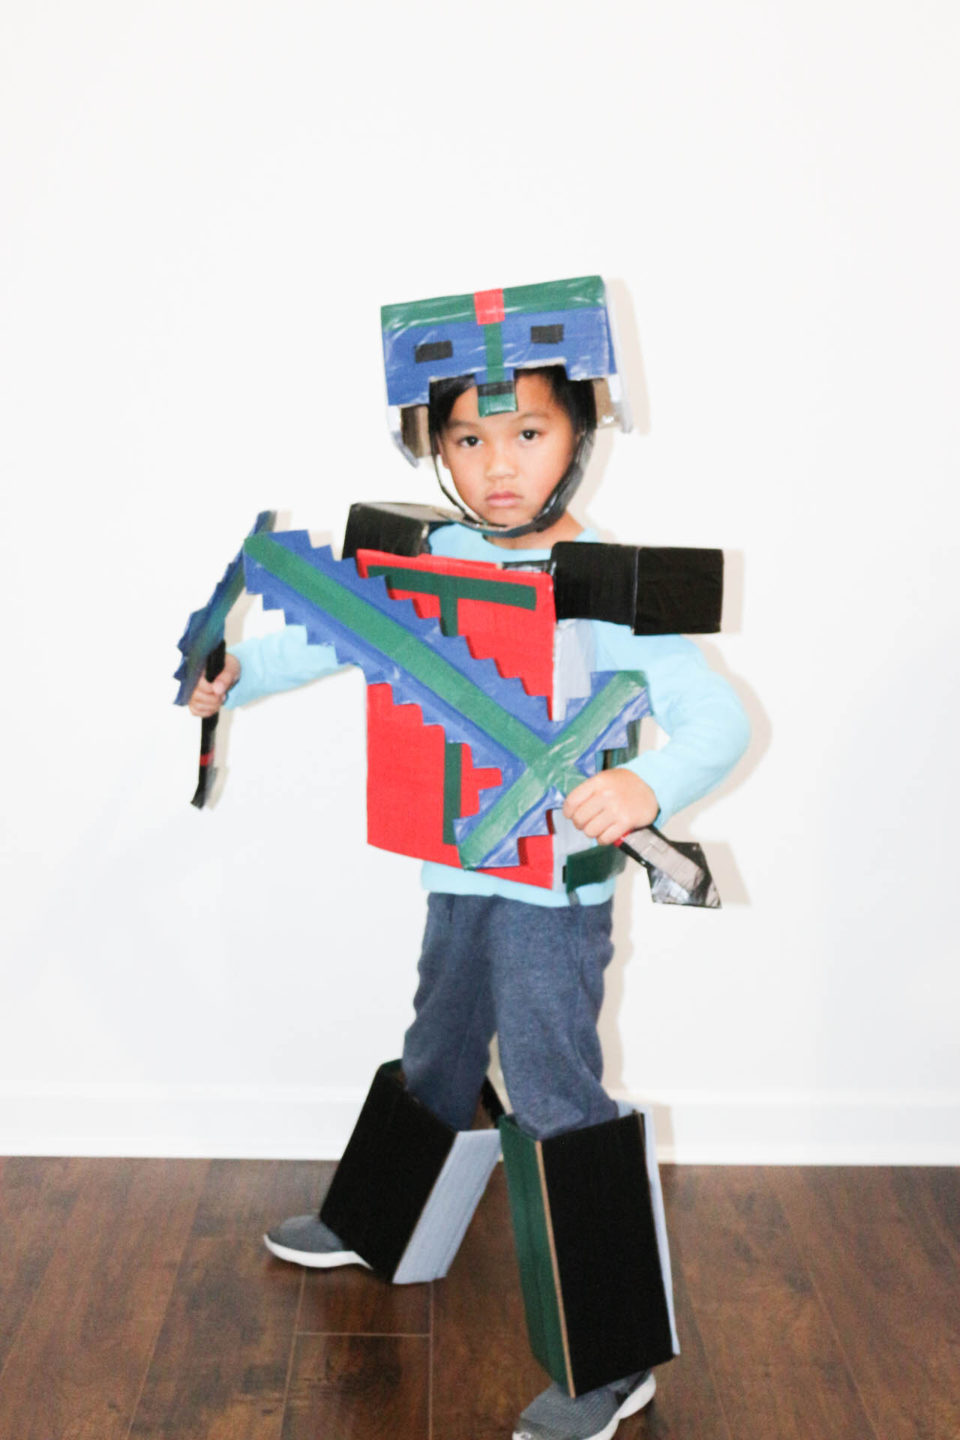
While I was away on a girls trip, my son had the idea of making a Minecraft armor costume with cardboard. My husband ended up becoming engineer and my son was the co-engineer/designer/supervisor on this project. Haha. I have to admit I was pretty impressed when they FaceTimed me to show me what they created. Because this was an unplanned project, I don’t have step by step instructions with pictures on how cut, shaped and taped it together. Sorry. My husband just winged it and pretty wrapped card board around my son. I will provide pictures to show as much details as I can if you want to give it a try and make it yourself.
Material Used:
- Cardboard
- Clear shipping tape
- Velcro tape
- Vinyl tape
Tools Used:
- Scissors
- Box cutter
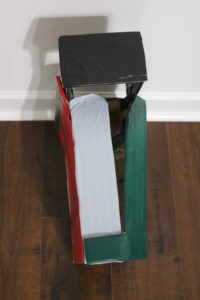
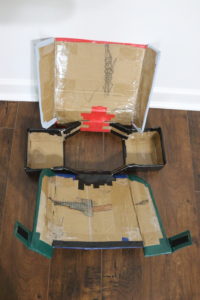
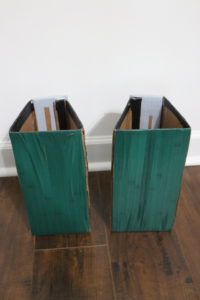
ASSEMBLED BEFORE COLOR TAPE
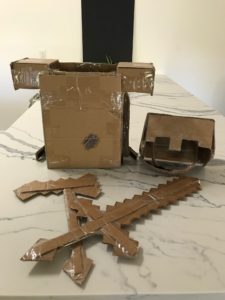
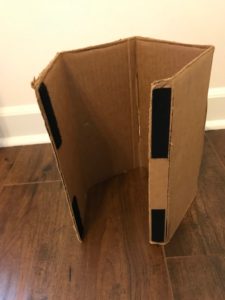
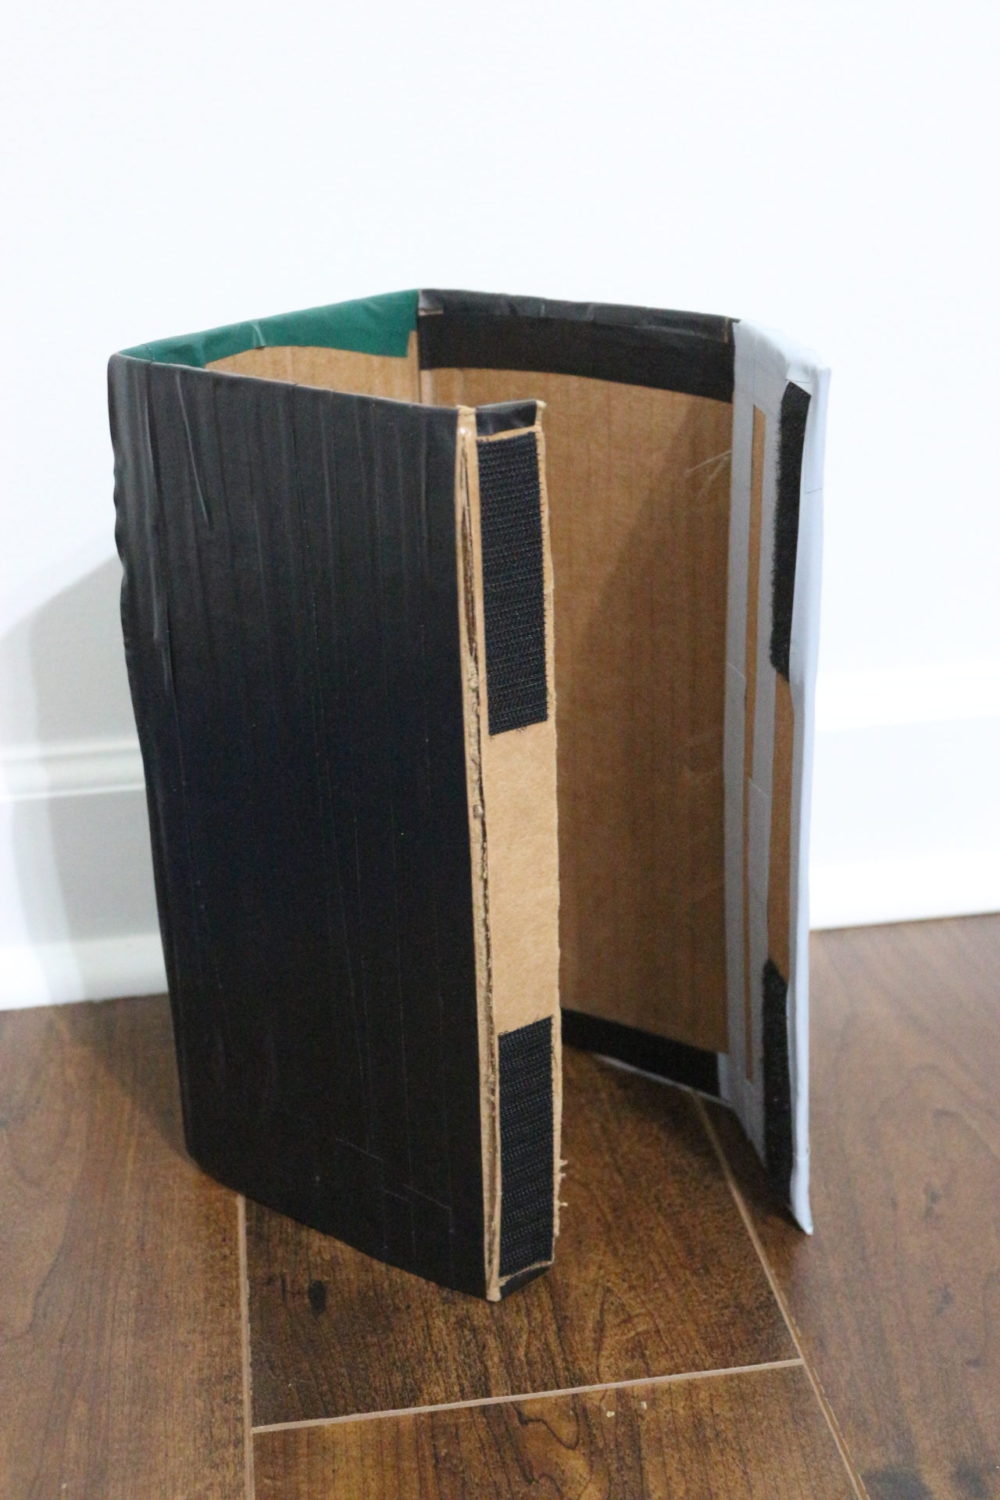
You can just google images of minecraft armor and you will find that it’s pretty much boxy/box shaped armor. Use image that you find most helpful with details as your guide to make each piece. For instance, the front, back and side pieces of the chest armor are all separate pieces and taped together with shipping. You cut out piece and hold up to the child or kind of “wrap” the cardboard around your child to make fit the best. Add a tabs for closure at sides of chest plate. Also add tabs with velcro to make a chin strap under the helmet. This is so that your child and put on and take off his/her armor easily and also for it to fit comfortably when it’s worn. The weapon were hand drawn into the shape as per image on google image. Cut extra straight pieces going horizontal and vertical for both side of the weapons. See image above. This is for reinforcement to make the weapons more durable.
.
Leo asked “What about the boot, Dad?” So dad made the boot. Which is just a rectangle piece of cardboard wrapped into a 3D rectangle. Again, he added a velcro closure at the opening.
 Cut a perforation where you need to fold the cardboard into your desired shape. Note: This boot was revised later to fit Leo’s leg better and for him to walk easier with it on.
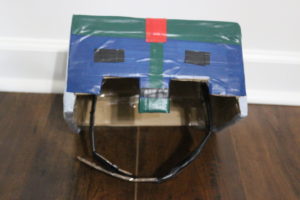
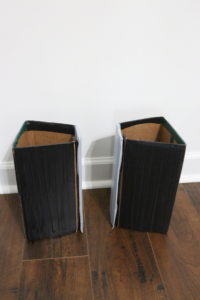
I suggested that they cover the cardboard armor with colored tape and wear it for halloween. Leo was all about that. He colored a design during his free time at school and was excited to show it to us when he got home. As you will see he changed up the colors some as they taped each section. We got a pack of tape with other colors and he liked all of the other colors as well. There are colored masking tape and duct tape available to buy. Dad chose to buy the vinyl electric tape and we believe it was the best choice. You can remove the tape a little bit if you need to adjust it without the tape losing it’s stickiness.
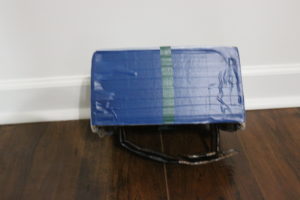
FRONT CHEST ARMOR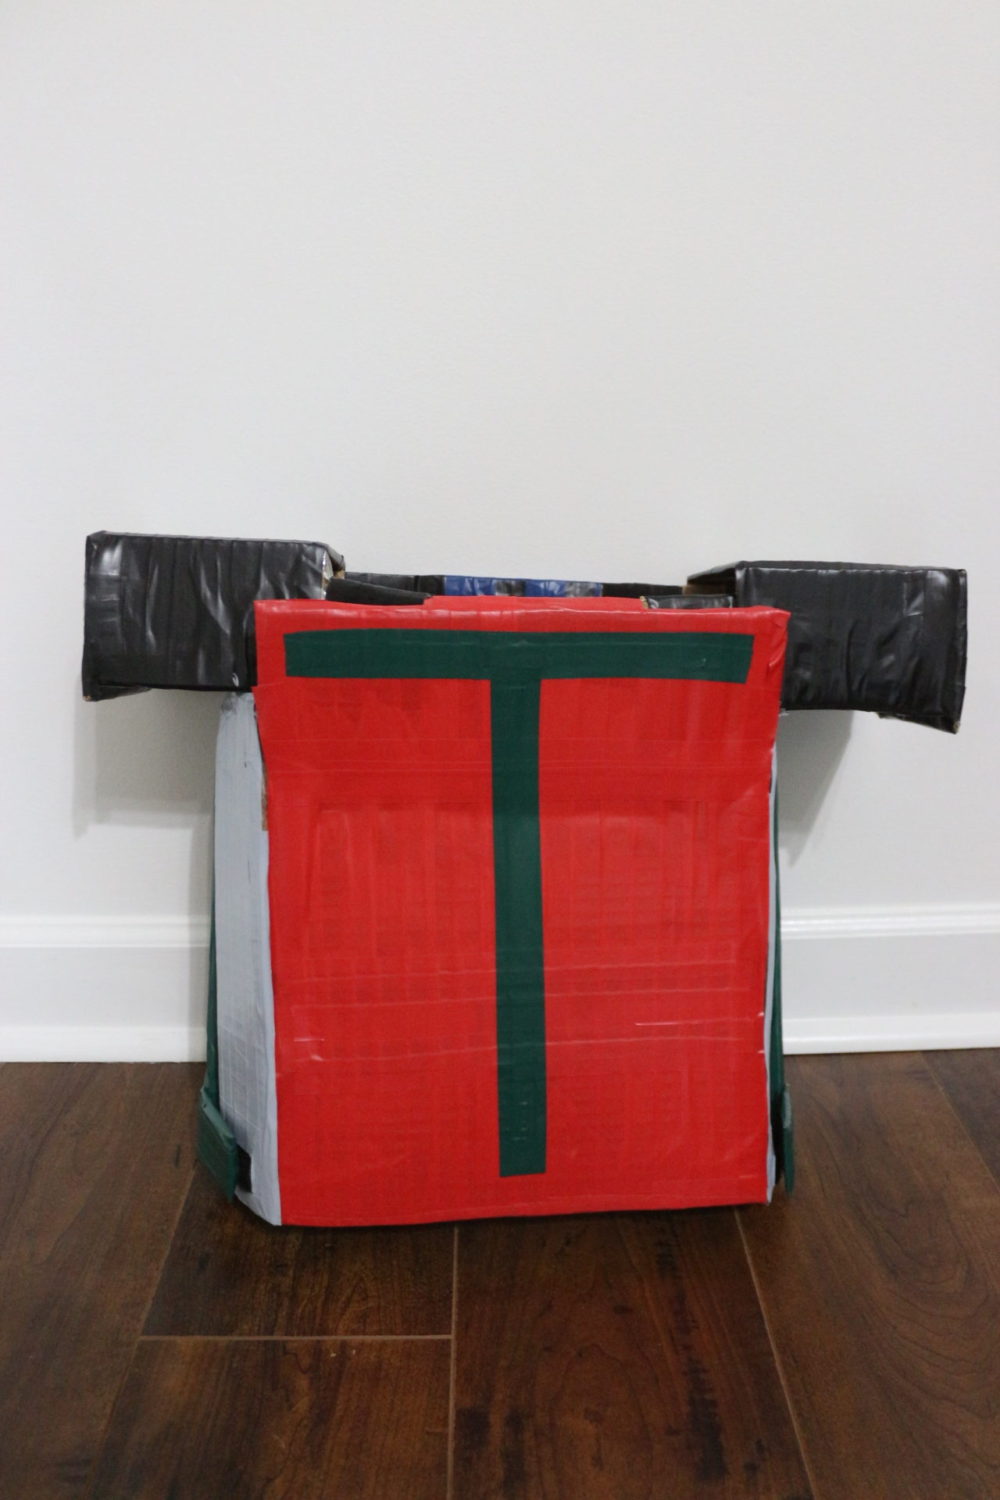
BACK CHEST ARMOR (ADD VELCRO TO ATTACH ARMOR)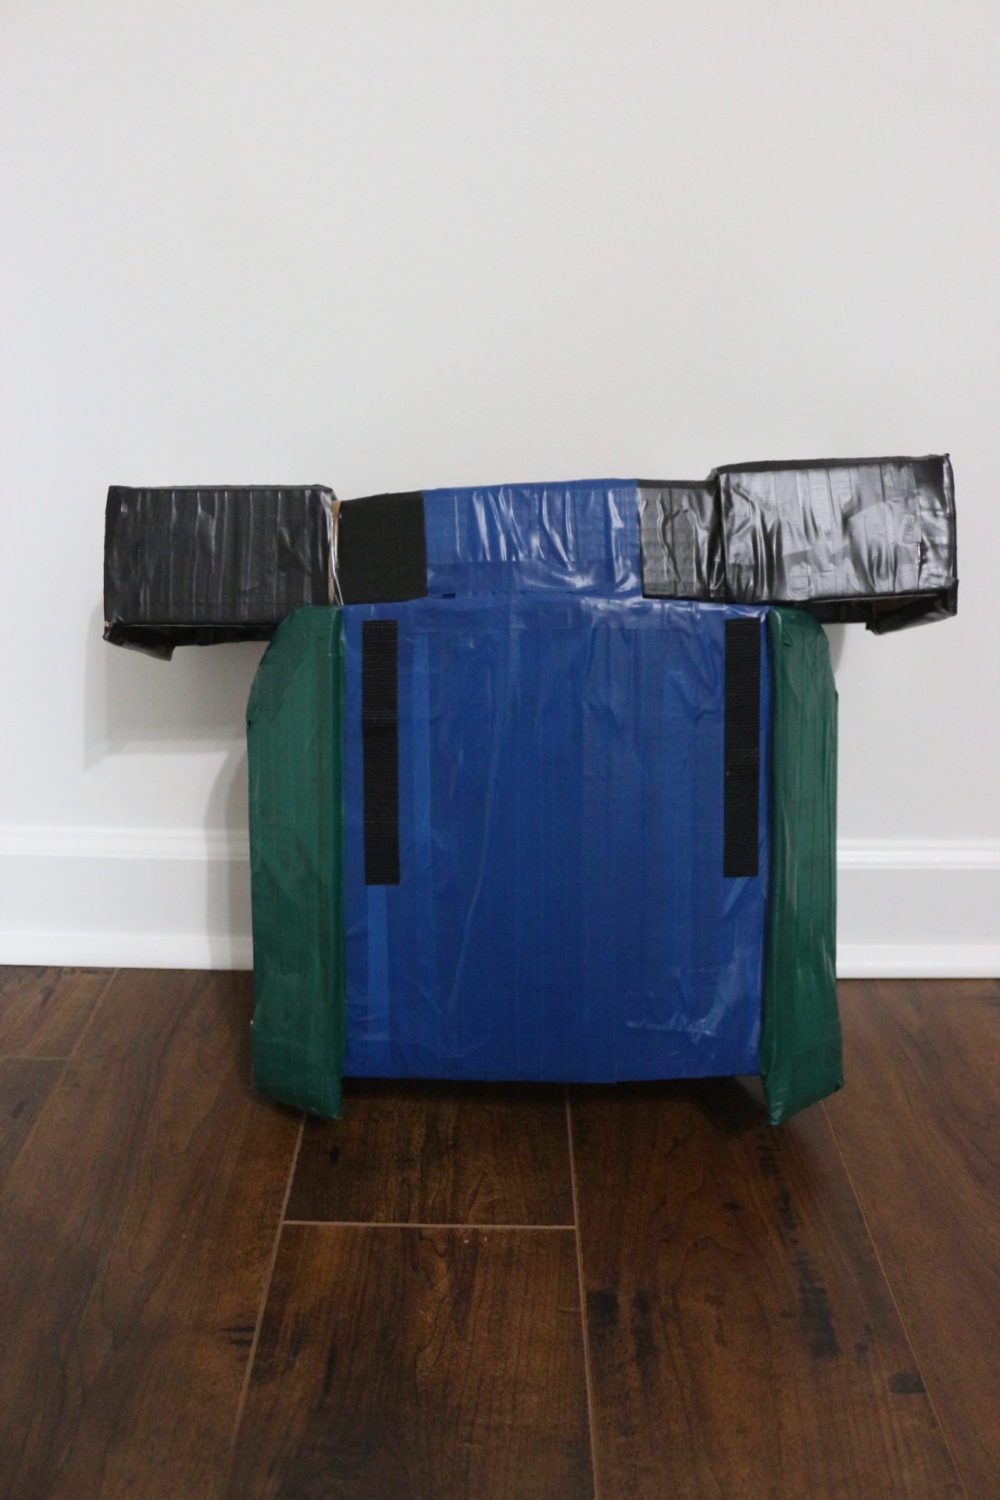
SIDE CHEST ARMOR
INSIDE CHEST ARMOR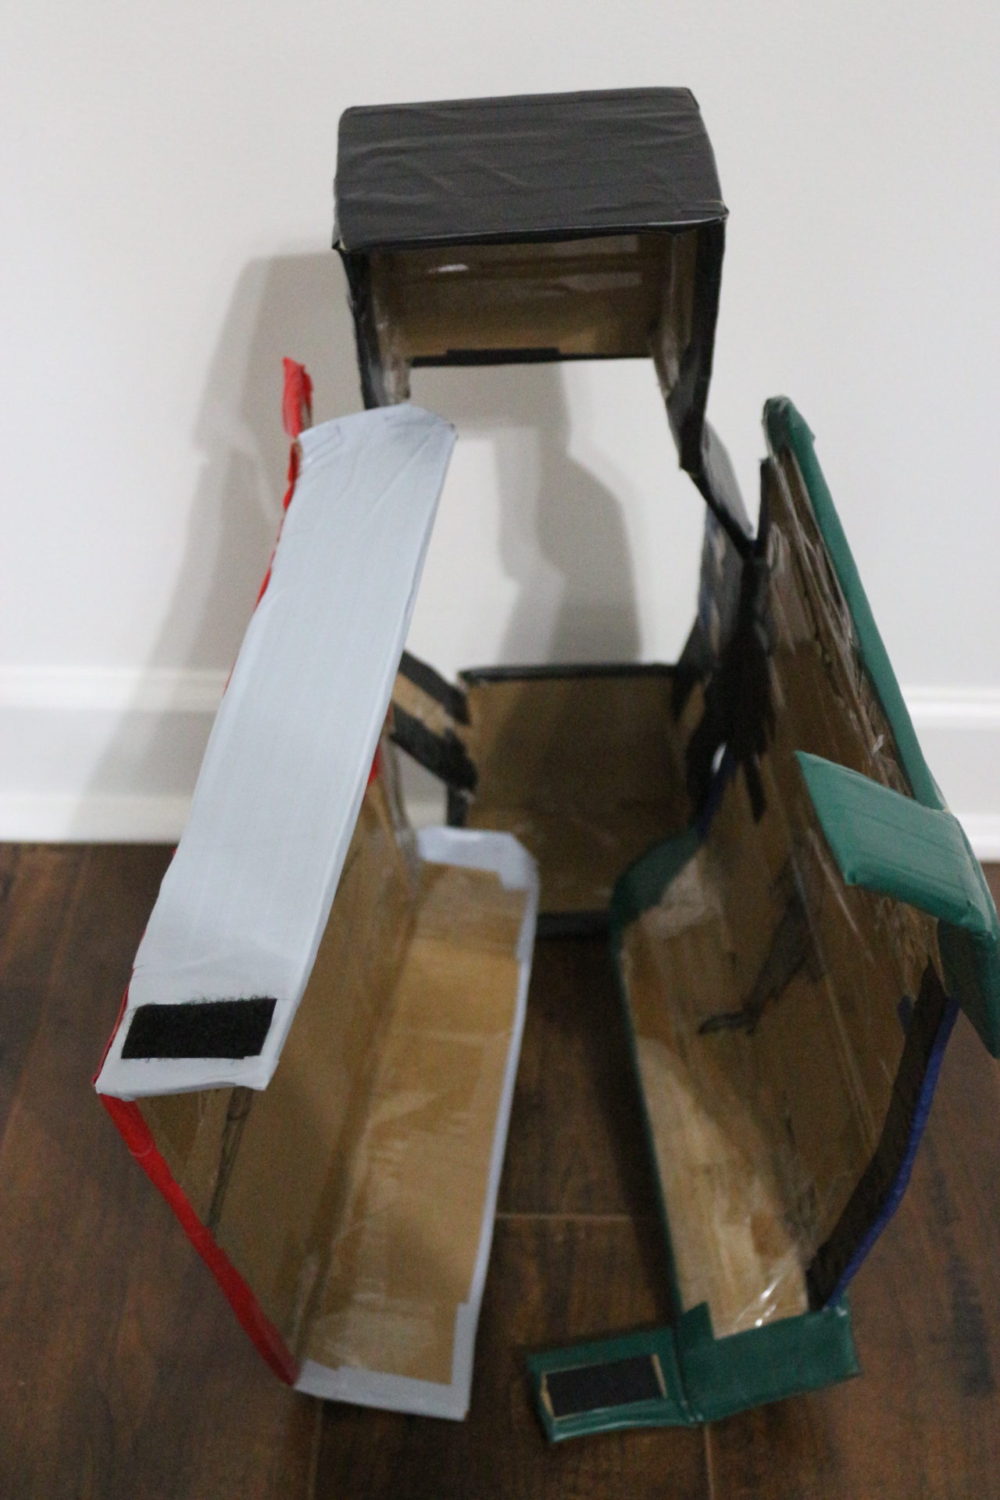
HELMET FRONT
HELMET BACK
HELMET SIDE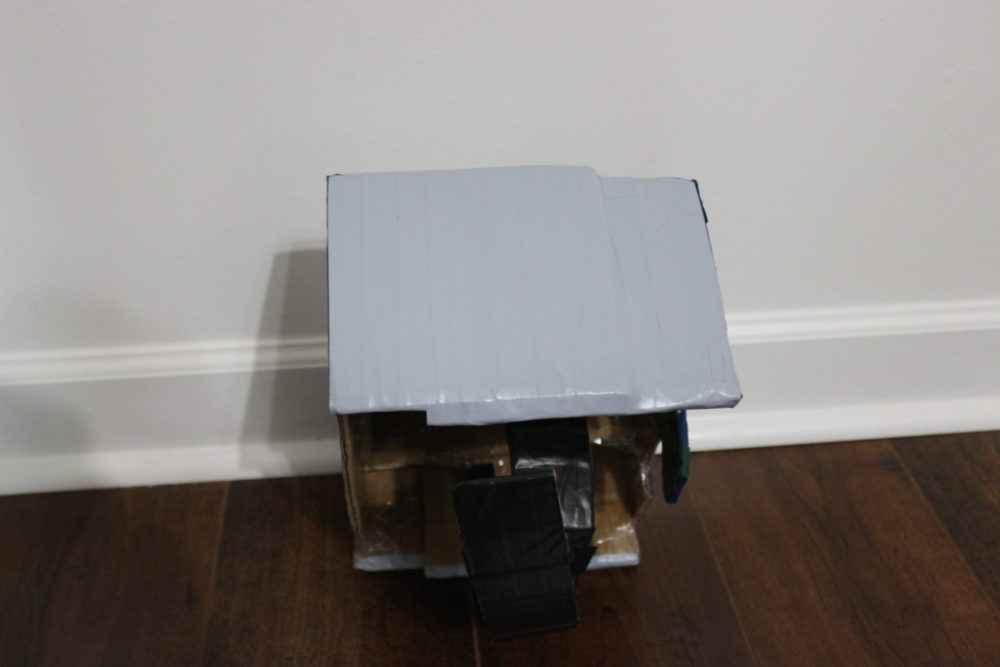
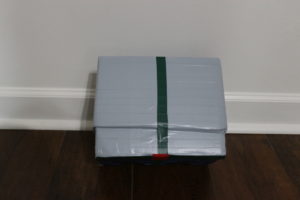
HELMET TOP
BOOT FRONT
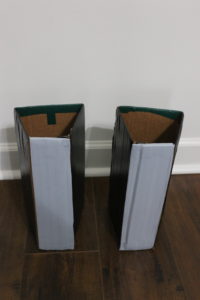
BOOT BACK
BOOT SIDE
PERFORATE A TAB TO FOLD INSIDE SIDE PANEL AND ADD VELCRO FOR CLOSURE
SWORD FRONT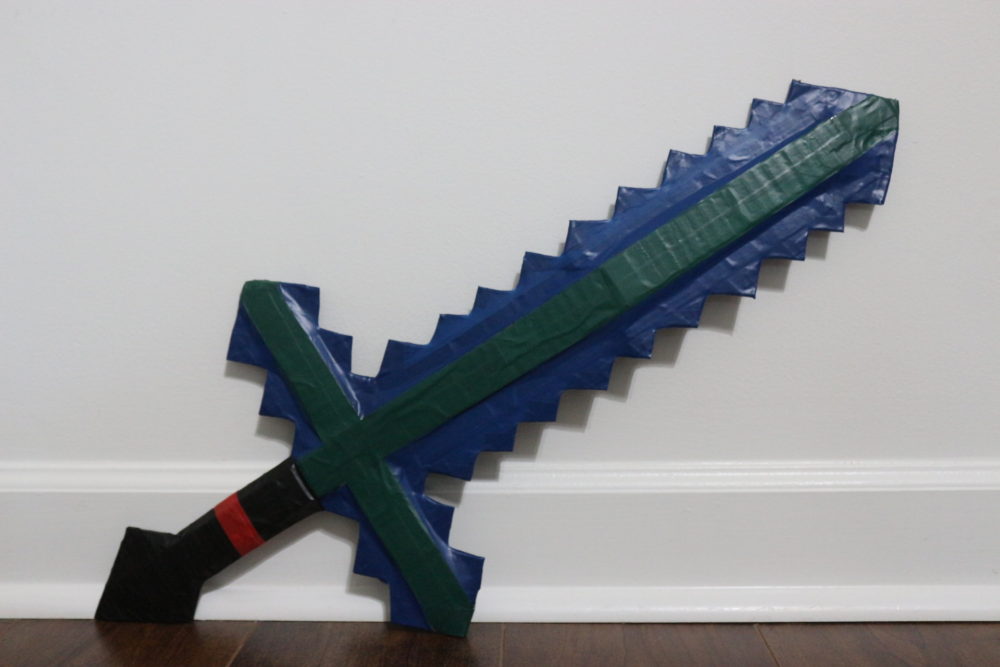
SWORD BACK (VELCRO TO ATTACH TO CHEST ARMOR BACK)

AX FRONT
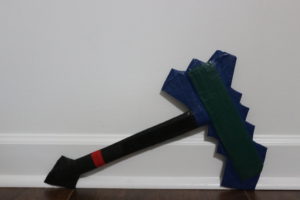
AX BACK (ADD VELCRO TO ATTACH TO CHEST ARMOR BACK)
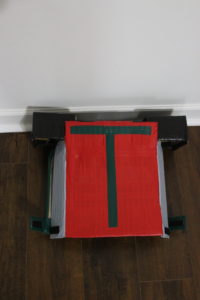
FRONT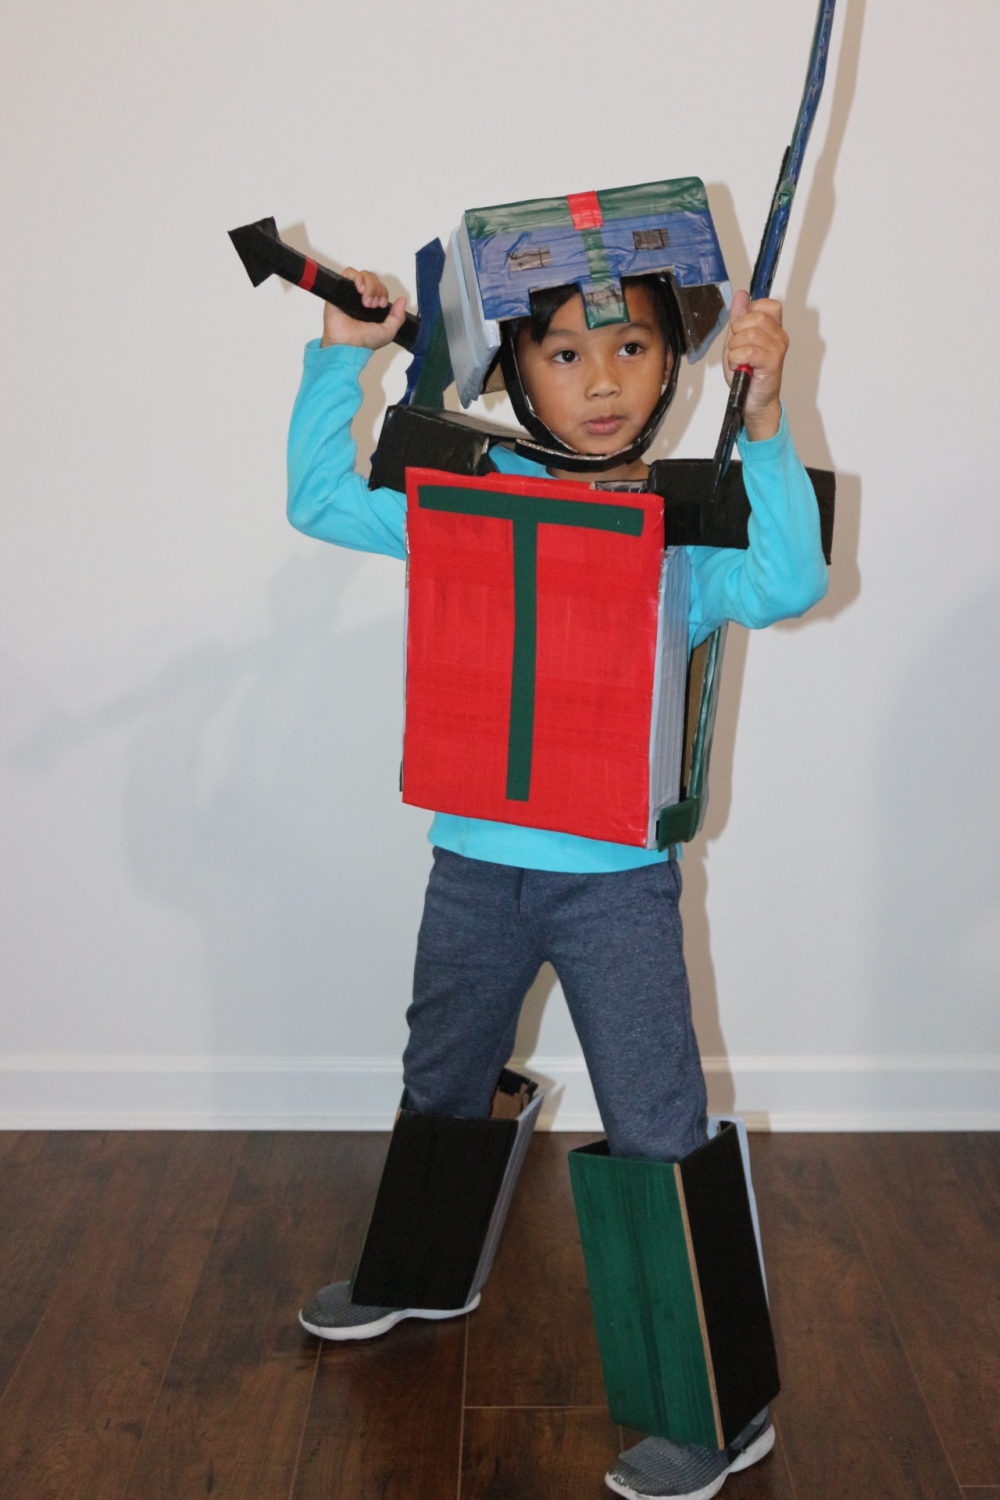
 BACK
BACK
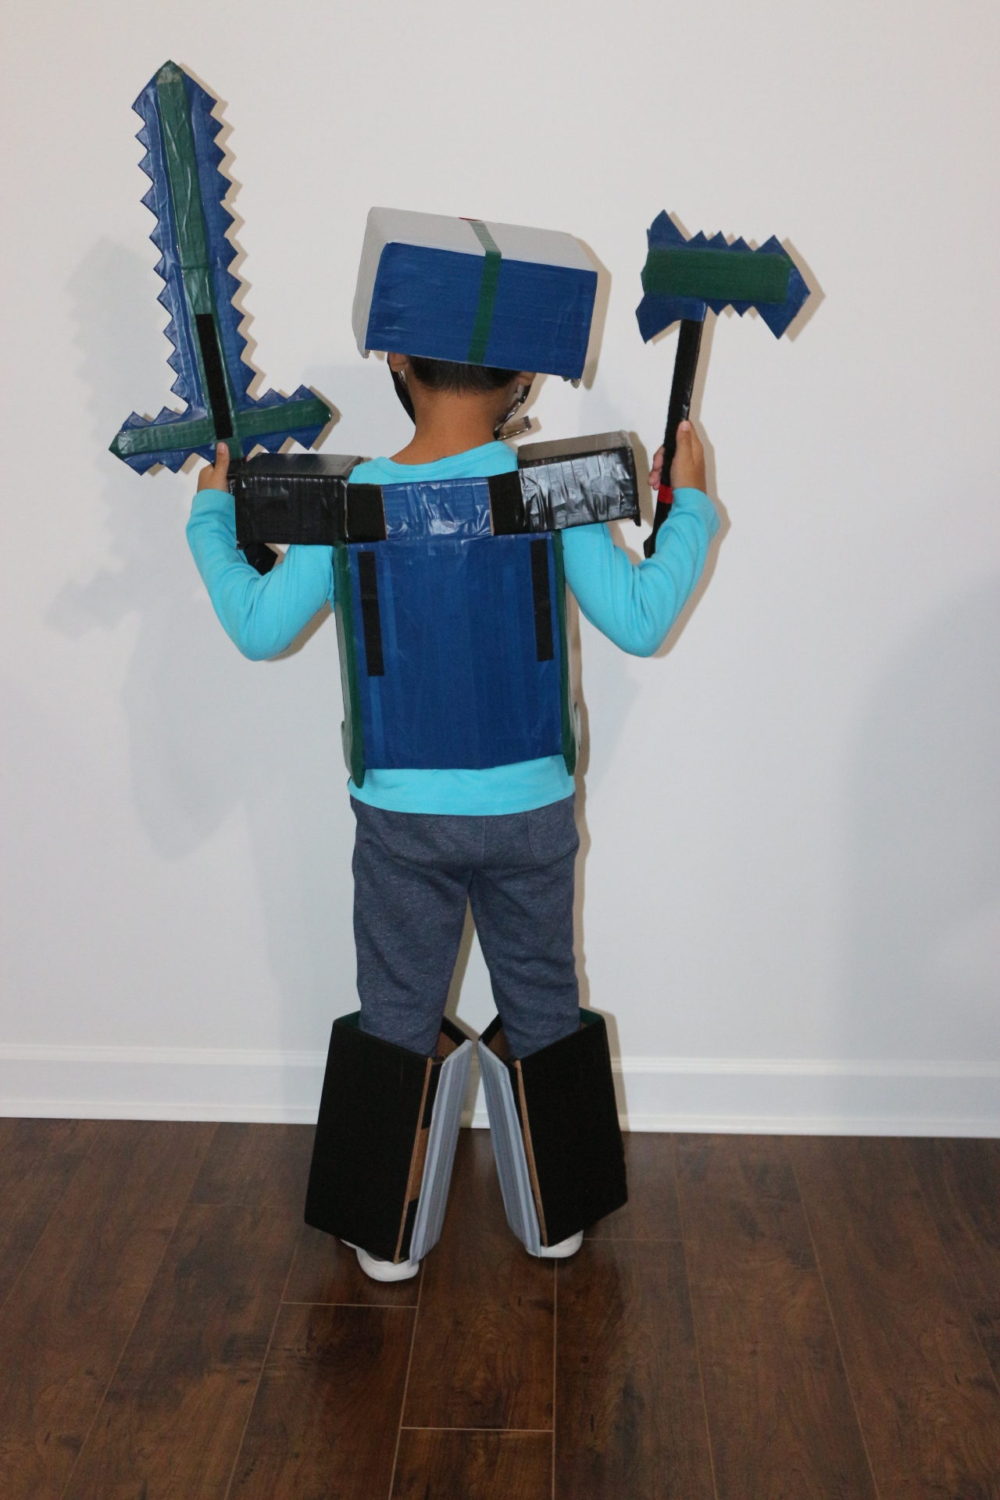 BACK WITH WEAPONS ATTACHEDSIDE
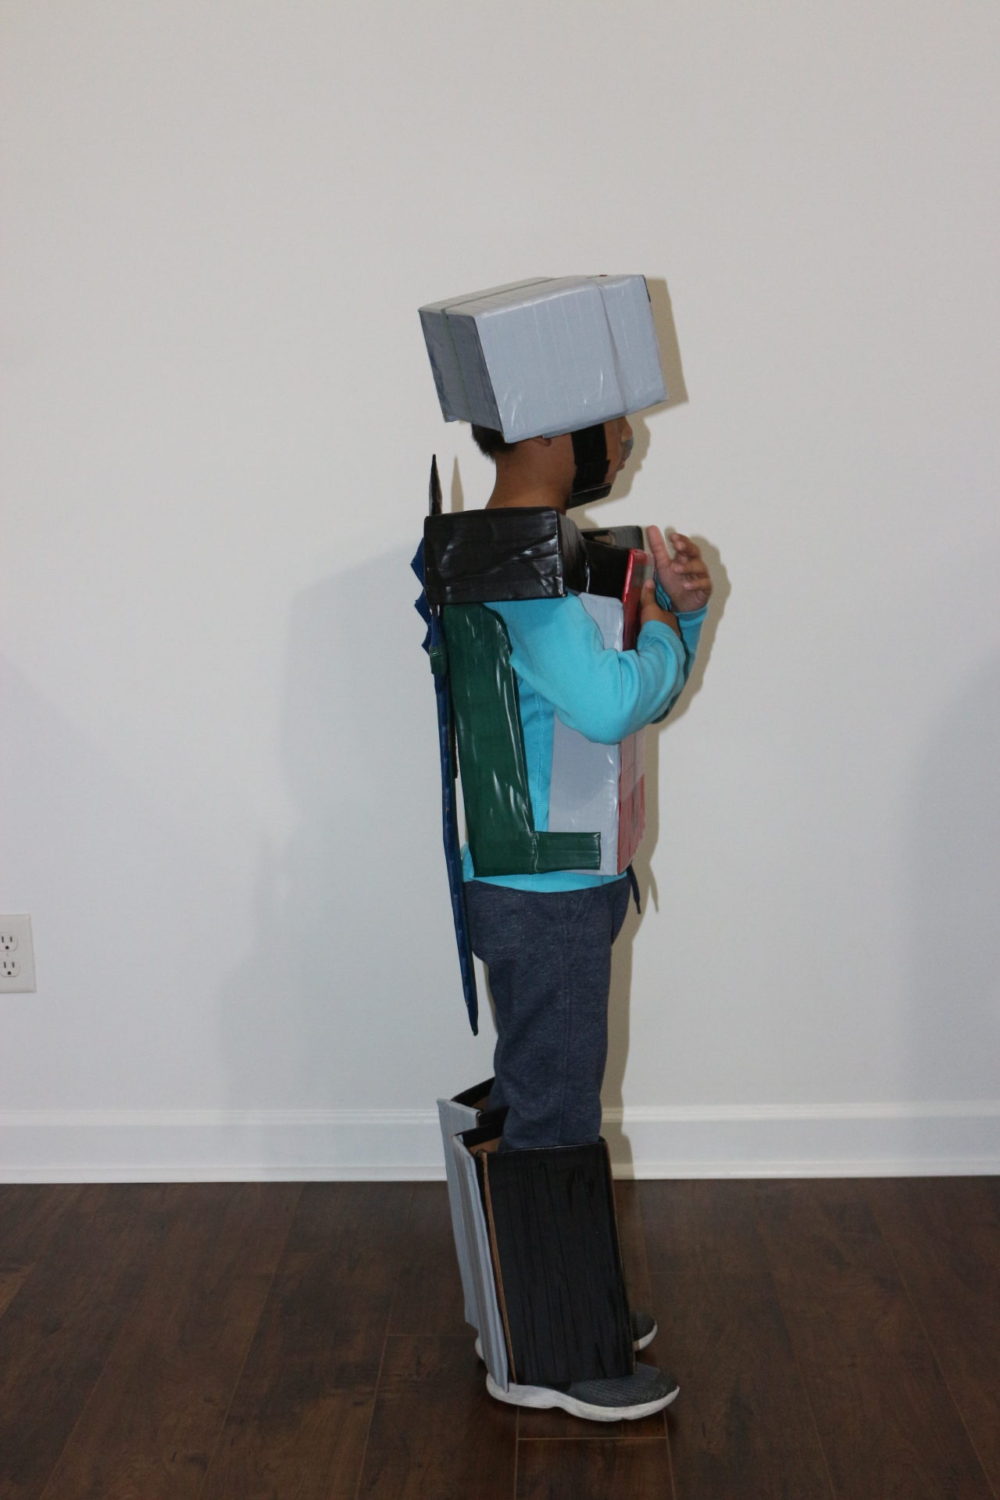
I hope this has inspired you and your next diy costume. I would to see your version of this diy costume if you decide to make one too.
xoxo,

SHOP THIS POST